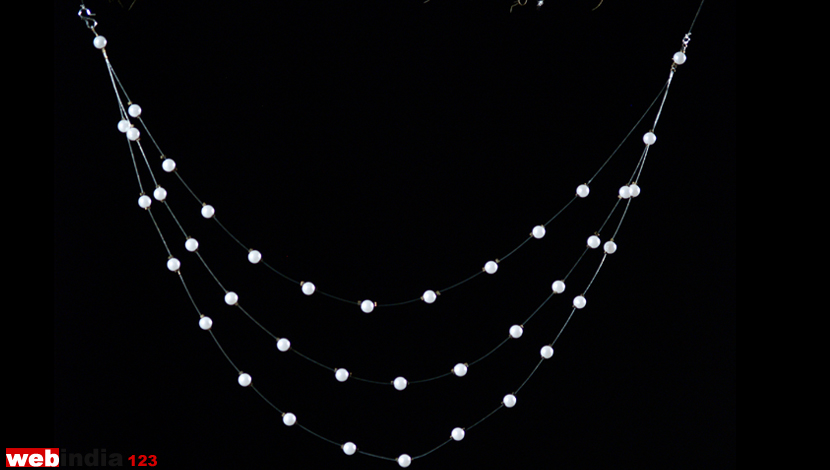
So lets start. Cut the beading wire into three pieces, each piece in different sizes, one longer than the other.

Take the longest one and insert a crimp bead through it. Now add a pearl and then another crimp bead too.

Adjust the pearl to the centre of the wire. Using the nose plier, lock the two-crimp beads on both sides of the pearl, so that the pearl cannot move. In the same way, fix more pearls by leaving one or two inches between each pearl. Secure each pearl using the crimp as we did for the central pearl.

Once you finish with the first wire, repeat the process with the other two wires. Keep one thing in mind that one string should be long, the middle one should be medium and the first one in the layer should be small.
Once you reach the desired length, leave three or four inches of jewellery cable at the end and cut the rest of it. 
Hold the tips of the strings together, and insert a crimp bead through the wire. Press it and lock it. Now add a pearl to it. Again secure it with another crimp bead. Do the same with the other side also.

Now take the hook clasp. Before inserting the hook, put in a crimp bead. Insert the wire through the hook part and take it back through the crimp bead. Tight the crimp bead and cut the extra wire.

Fix the other part of the hook in the same way. We are done! |


